
Are you ready to find out the secret to an amazing Thanksgiving turkey? Is it brining? Basting? Butter under the skin? WHAT IS IT?!?! It's called spatchcocking and it is a Godsend.
Note: you can also do this to chicken or any poultry (it will probably be different cooking times and whatnot)
What is spatchcocking?
Spatchcocking means you remove the backbone and lay your bird flat (don't worry I will do a step by step tutorial below). You do this so your legs and breasts cook at relatively the same time. With this method you want the breasts to end at about 150 degrees and the legs to end at about 165 degrees. Which is why we removed our legs in case they needed to cook longer.
How to Prepare a spatchcocked turkey?
First, we bought a turkey. You buy one pound per guest.
We had to get a frozen one because we bought it a week and a half early... But if you are cooking for Thanksgiving I highly recommend getting a fresh bird. There is no need to get one that is pre brined, pre seasoned, etc. just get a regular (organic if you like) natural fresh turkey. If you do end up getting a frozen turkey it's not a big deal you just need to thaw it. It takes about 3-4 days to thaw it naturally in the fridge. But if you are a last minute shopper (Like me) you will need to thaw it in a cold water bath.

Place your turkey in a sink or a cooler completely covered in cool water. Change the water out every two to three hours and repeat for about an hour per pound.
Second, cut up that bird.
First unwrap your turkey and remove the neck and bag of giblets. Then grab your poultry shears (if you don't have poultry shears your regular kitchen shears should be okay..... just harder).
Then cut out the backbone.
Then take a small knife and cut out the wishbone (This will make it easier to carve your turkey later).

Looks yummy, right? The bonus of this way of roasting a turkey is you have SO MUCH delicious meat to make your stock! Now that is yummy!
Once you have de backboned your turkey you lay the legs out flat. Then you do the coolest thing ever.... you flatten the chest until it's flat against the pan. It feels like you are giving the turkey CPR. It's really fun! Although my husband stood about 15 feet away peaking looks here and there and freaking out over the noises. Then tuck the wing tips under the breast. At this point you can cut off your legs if you are worried about them cooking at different times. (REMEMBER: the legs are done at 165 degrees and the breast is done at 150 degrees)
Then you will DRY BRINE your turkey by putting 2 Tbs. of salt all over the turkey. (I also put pepper because I love pepper.....) then place it in your fridge without any cover for up to two nights (I did one night). This is a form of brining that doesn't water down your meat. The salt penetrates the meat and that's it!

Third, cook that bird.
REMEMBER, cook to a temperature not a time. I made this mistake.... but my turkey was still delicious. Which makes me believe this is the best method of cooking a turkey. Even when it was "overcooked" it was juicy and delicious. PLUS THE SKIN WAS A CRISPY HEAVEN!!!
Anyway, This turkey cooks at 450 degrees for 80 minutes. But I would suggest checking your temperatures (Leg= 165 degrees Breast= 150 degrees) at the 60 minute and 70 minute marks as well. If your turkey is smaller than 10 pounds maybe check earlier as well.
Sidenote: you can use a variety of pans. The best pan would be a straight across rack that sits on top of a cookie sheet or something that can hold some liquid. In that pan you want to put some vegetables (onions, carrots, celery, garlic, thyme, etc.) so your drippings don't burn.

NOW THAT IS ONE GOOD LOOKING BIRD!
Fourth, let is rest.
Let it sit on a cutting board for 30 minutes or so.
Fifth, carve that turkey.
First remove the thighs from the legs and put them whole on your platter. Then remove the wings and do the same. Next, cut on either side of the breastbone and carve into strips. Feel free to pick off any extra turkey. Then place all of this on your platter and Voila, Turkey is served!

The end result of spatchcocking
You have a turkey that took a normal amount of time to cook. No more dry turkey. Crispy skin and juicy meat. And no soggy under meat that no one wants.
What about that stock?
Heat 2 Tbs. of oil in a large pot. Then, take your backbone, neck, etc. and all your vegetables (onion, carrots, celery, shallot) whatever you would like and brown your bones (About 10 minutes).

Note: you can add more or less liquids depending on how much stock/gravy you want to make.
Then add about 7 cups of chicken stock (I use better than bouillon and water), a teaspoon of soy sauce, spices (thyme, rosemary, etc.), and 2 bay leaves.
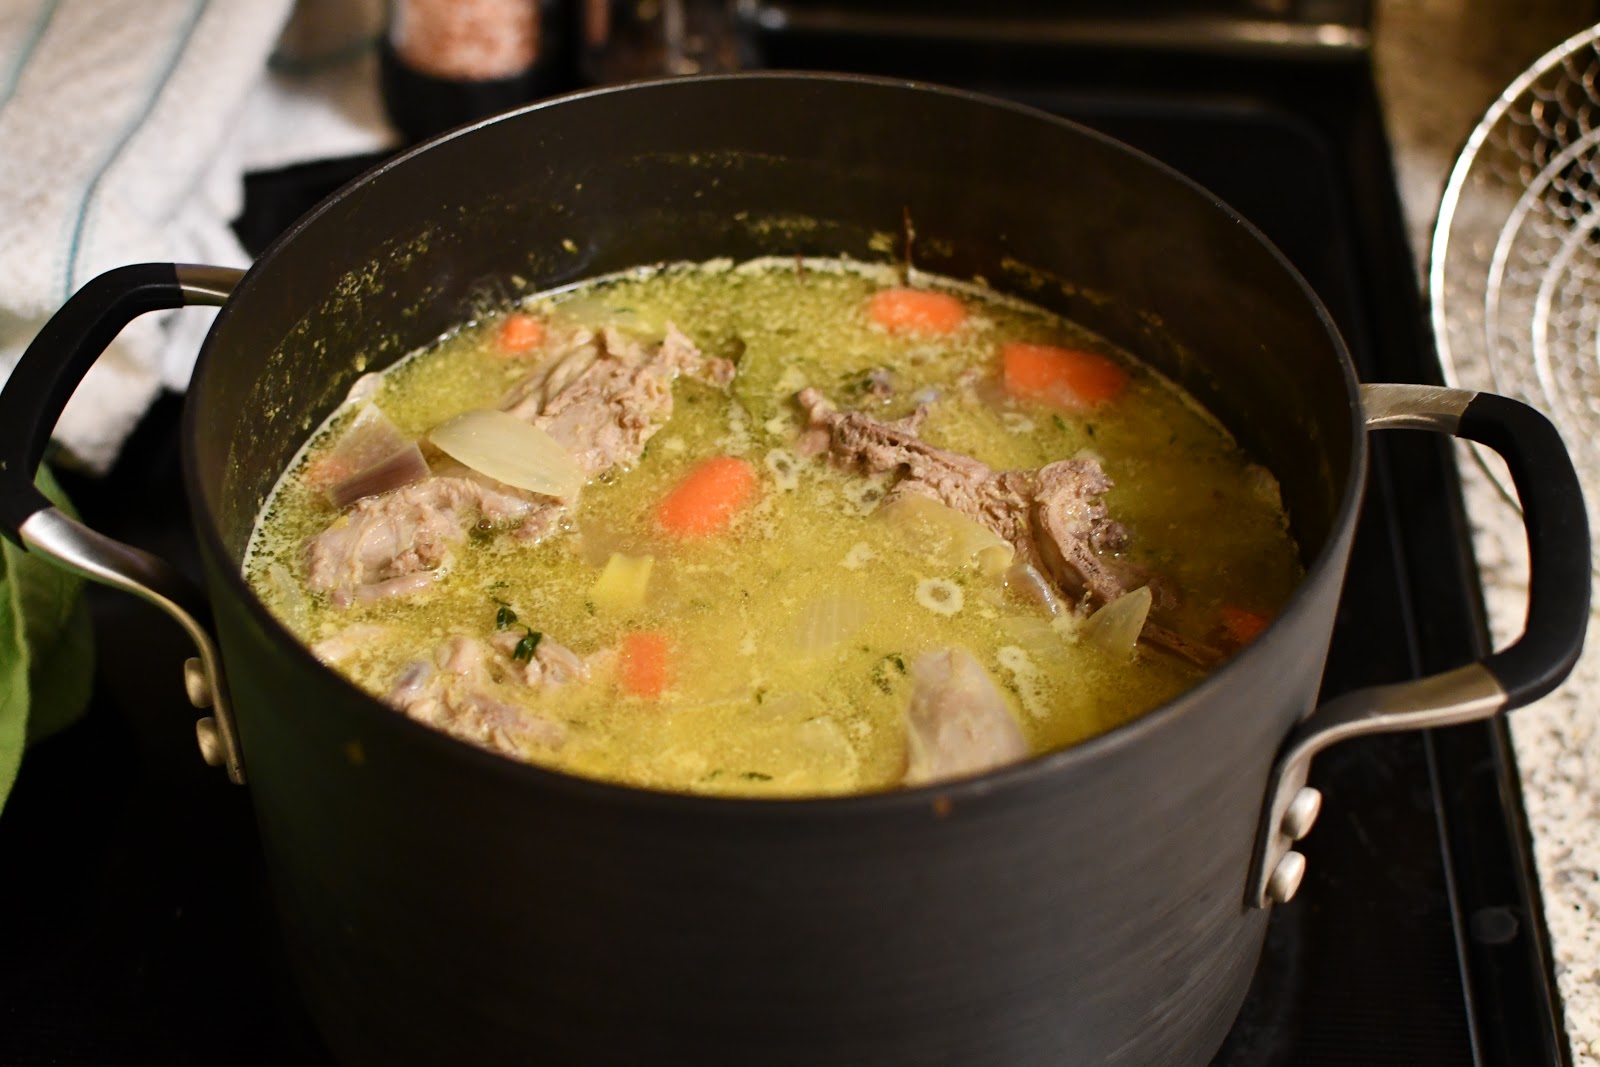
Bring to a boil and simmer for about an hour. once your turkey is done add the drippings to your stock.
Then drain the solids out and you have stock for your gravy.
What about the gravy?
Put 3 Tbs. (or more depending on how much stock you made) of butter and make a roux with 1/4 a cup of flour. Then slowly add the stock (whisking constantly). Simmer until desired thickness.
Note: if it isn't thickening how you want add a Tbs. of cornstarch and water to a bowl and mix until combined. Add to the gravy until desired thickness.
source
Comments
Post a Comment